Digital Tutorial: How to extract digital elements to use for Project Life!
This little trick is something I find myself using on almost every one of my project life layouts and think it is such a fun way to customize your pages to be fun and unique!
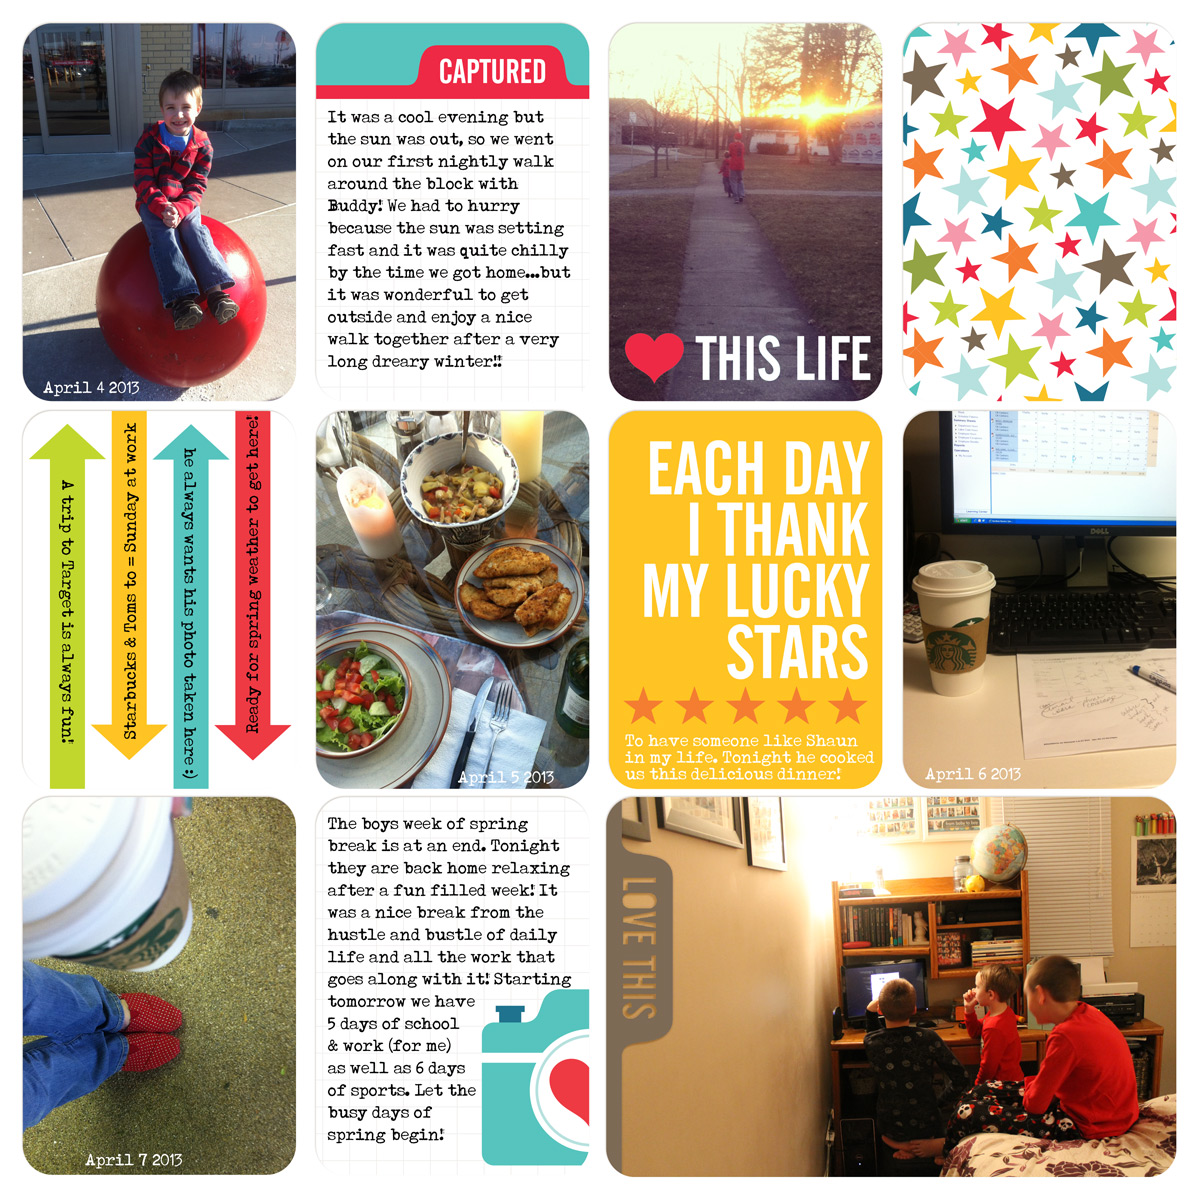
You can see an example of how I used this technique on the project life page below to get the love this life word art on the top right photo, and for the love this on the bottom right photo:
The journaling card I am using today for this tutorial is from DDE's Besos Vol. II Journaling cards
First you want to open the journaling card you want to use in a photo editing program ( I use PSE 10):
 Next you need to select the Magic Wand Tool on your toolbar:


*tip: to select the inside of letters, like letters O and R here. Hold the shift key and click the inside of the letters so they are surrounded by marching ants too!*
Now you need to right click (with your mouse) on the selected element and it will pull up a menu that looks like the image below. Move you mouse down and highlight "Layer via Copy":

Once you do that you will see a copy of the selected element in your layers palate:

In the layers palate deselect the original layer of the journaling card and you should be left with the extracted element!! Voila!! Now you can drag and drop that element anywhere you want onto your Project Life layout!

A super simple and easy to use tutorial to make your project life pages all your own!!
Let me know if this works for you too, and how you plan on using it on your PL pages :)
You can see an example of how I used this technique on the project life page below to get the love this life word art on the top right photo, and for the love this on the bottom right photo:
The journaling card I am using today for this tutorial is from DDE's Besos Vol. II Journaling cards
First you want to open the journaling card you want to use in a photo editing program ( I use PSE 10):
With the Magic Wand tool, Select (left click) the element/shape you want to remove from the journaling card. Once it is selected you should see little marching ants around the element:
*tip: to select the inside of letters, like letters O and R here. Hold the shift key and click the inside of the letters so they are surrounded by marching ants too!*
Now you need to right click (with your mouse) on the selected element and it will pull up a menu that looks like the image below. Move you mouse down and highlight "Layer via Copy":
Once you do that you will see a copy of the selected element in your layers palate:
In the layers palate deselect the original layer of the journaling card and you should be left with the extracted element!! Voila!! Now you can drag and drop that element anywhere you want onto your Project Life layout!
A super simple and easy to use tutorial to make your project life pages all your own!!
Let me know if this works for you too, and how you plan on using it on your PL pages :)
Comments
Post a Comment