Halloween Wall Art
I was really excited to get the chance to be one of the guest bloggers for the Two Peas Spook Craftular Halloween!! Py project went live yesterday and you can see it on the blog here and in the gallery here
I was a little slow getting the step by step instructions done so I thought I would share them again here in case anyone wanted to make one for themselves :)
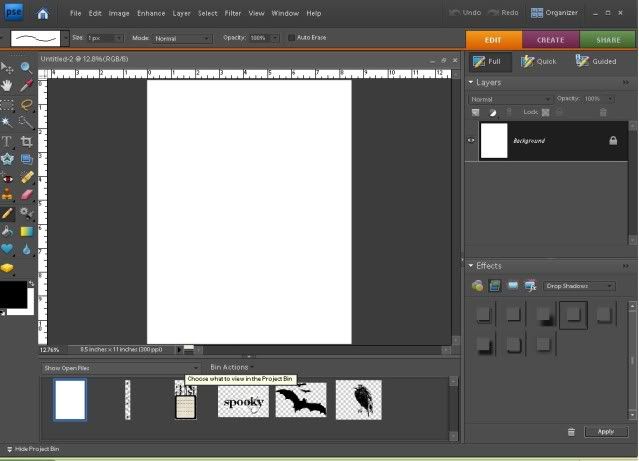
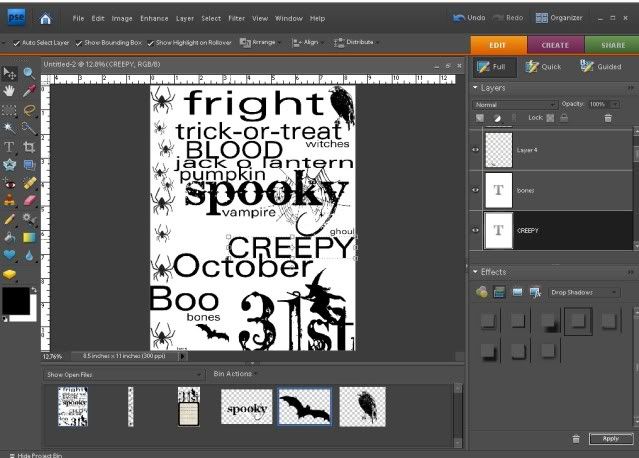
STEP 1:
Open a new 8 1/2 x 11 document in you photo editing program (I am using PSE 7)
STEP 2:
Open all the brushes and digital kit elements you plan on using
 STEP 3:
Start placing items on your document.
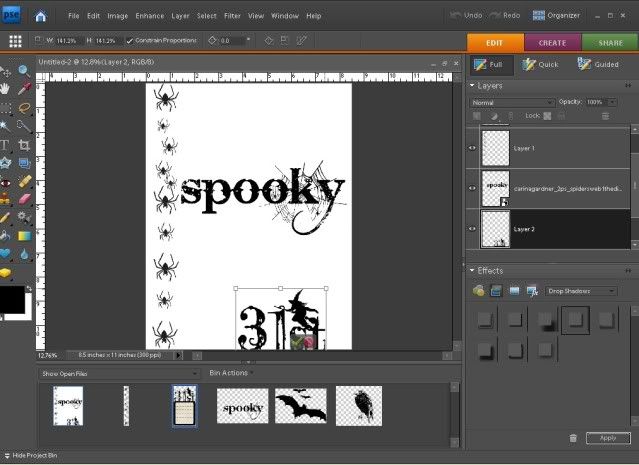
STEP 4:
Use the horizontal and vertical text tools to type in your Halloween words. (Make sure to place each word on a new layer, for easy adjusting later on)
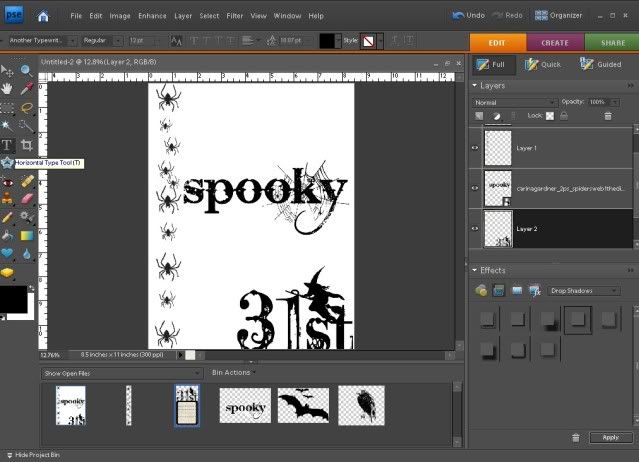 STEP 5:
Continue typing and sizing your words (using the move tool) until you have a full canvas
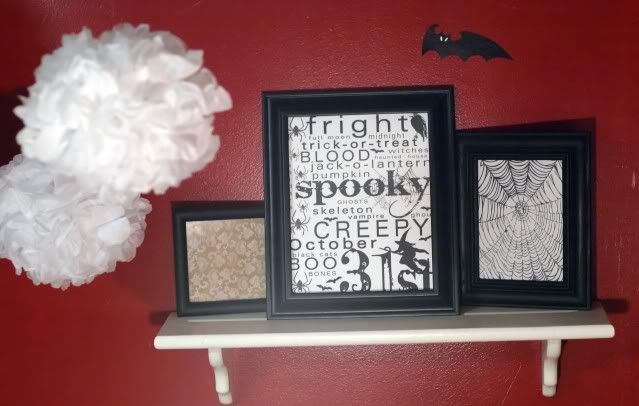
 THE FINISHED PROJECT = is like a really big word puzzle that you have to piece together one layer at a time!! Just keep at it until your canvas is full and you like the look of it!
 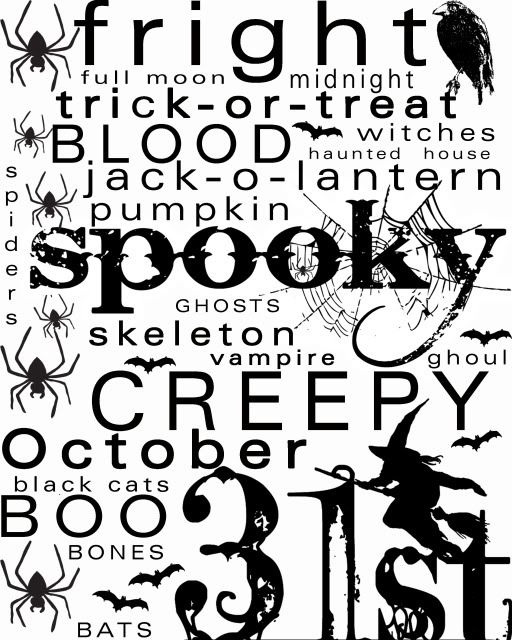 Now just print and put it into a frame :) Voila!
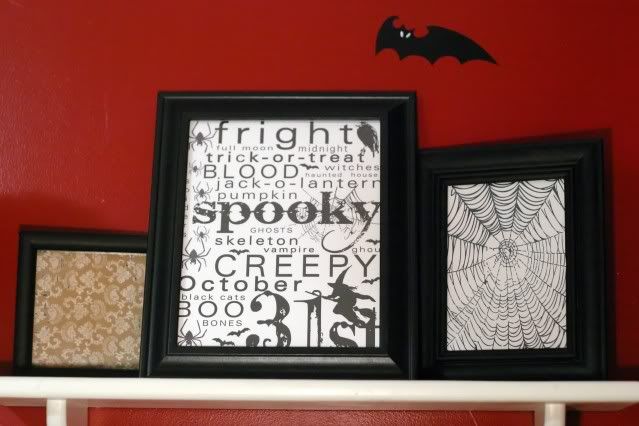
I also printed out a spiders web brush from the kit and some fun patterned paper to complete my wall art!
.jpg)

Congrats on the guest blogging gig over at Two Peas! Love your spooky project and really appreciate the tutorial...I may attempt something similar for Christmas! :) Way to go! Erin (fellow CT member!)
ReplyDelete